
As you could imagine, they were rough as guts and all different lengths and thicknesses. DH cut them roughly to length, and hit them with the electric plane to even them out. He had to hold them all together to make the bench so using a modified drill bit (welded onto some steel rod to make it long enough) he drilled through all of the lengthes and 'screwed' it together with some threaded rod. In between the timber there is wood glue as well.

Then, more hits with the plane, to get it even thickness and then with the sander to get it smooth. We had to fill in some knot holes with wood putty, then sand that again. We started with 60 grit sandpaper, working our way to the finer paper, finishing with 400grit (really fine, almost feels like plain paper). After doing that, the timber felt like velvet.


The sink hole, and another hole for the bin were cut out and then we did a trial fitting session. Looking good!
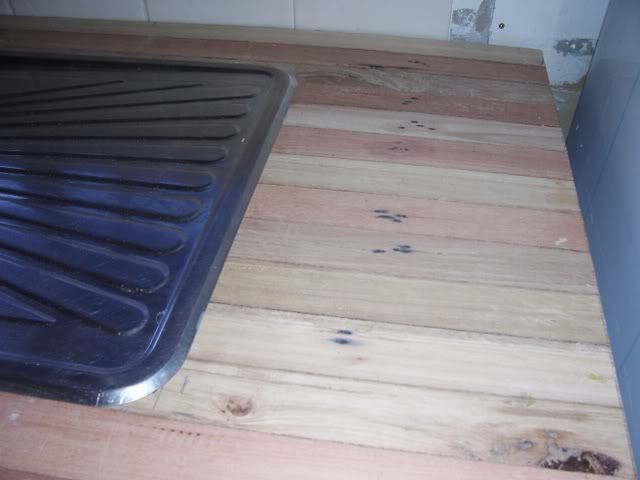
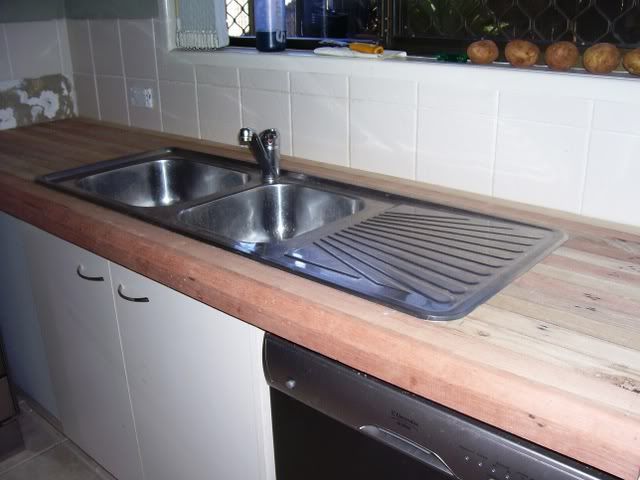
To finish the bench we had to find something to seal and protect the timber. Lacquer wasn't an option, it has harsh chemicals and chips, so we weren't about to put that anywhere near a food prep area. We found an organic oil, made in Byron Bay that claims to be food grade and suited for benchtops and chopping boards. It was about $10 for the can and I dont think we even used half of it. It's a mixture of oils including tung and citrus oils.

It smells so nice on the timber, and brought the colours out really well. It has cured over the last few days and has sealed the timber really well.


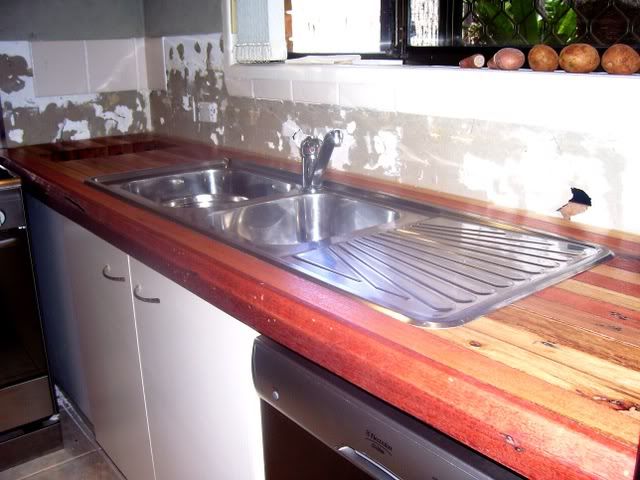
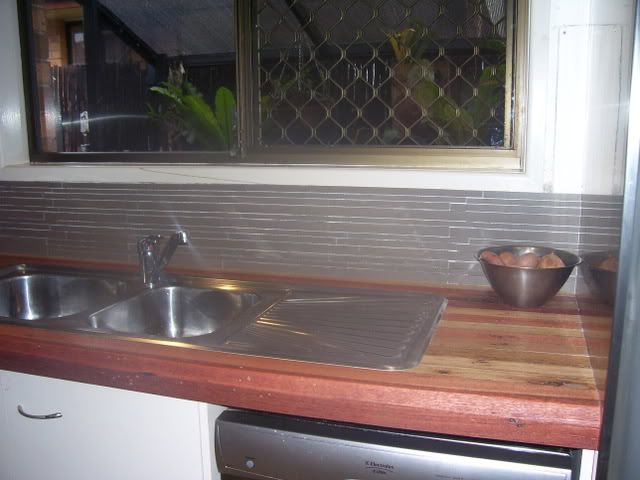
So there it is, finally in there and fixed down. The lid for the bin - at the far end - needs to be fitted and then the tiles on the splashback can go in. The kitchen is taking shape now. YAYYY
----------------------------------------------------------------------------------------------
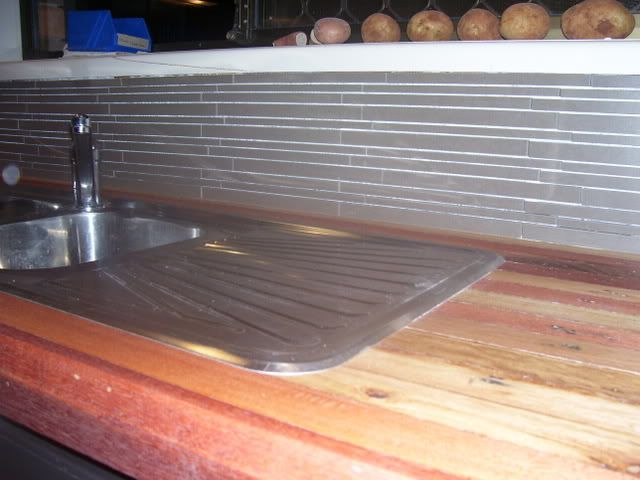
After DH finished work last night, he ripped out the last of the old tiles and glued down the new ones. Tonight they can be grouted and finished off properly.


10 comments:
What a beautiful Kitchen bench top I have laminate, the timber is going to last forever and it was recycled.
I just found your blog and I will be back to try some of your recipes.
Tracie xx
How good is that!!! I like the fancy looking tiles. Are they silver?
Thanks Tracie, I hope to add alot more stuff shortly. Glad you like it!!
Hey E!! They are a brown-grey ceramic tile. Nothing too fancy. They contrast well with the stainless steel and the timber I think. :-)
Love the timber counter top. Just found your blog. Interesting read.
thanks.
Jaycee
Looks fantastic! We've been wanting to do this for ages, I'll show hubby your blog to motivate him lol....
Hi, nice blog & good post. You have beautifully maintained it,Its really helpful for me, hope u have a wonderful day & awaiting for more new post. Keep Blogging!
Stainless Steel Bench
What an awesome project thanks for sharing I so can't wait to make some
hi there - how has the benchtop held up over the years? considering for our place. what sort of upkeep have you had to do. does it stain at all?
Hello... Very cool bench top and a great blog, thanks. I was interested where you got the oil for the bench top, and do you have to re coat the bench top or is it a do once and walk away?
This article gives great information. thanks for posting this kind of blogs.
Post a Comment